 Each student must create a slide show presentation using PowerPoint 2010. The project must be created in PowerPoint 2010, not 2007 nor 2003. Remember: all lab exams are administered using Office 2010.
This tutorial will walk you through the requirements for the homework assignment.
Open PowerPoint 2010. The title slide of a new blank presentation should display.
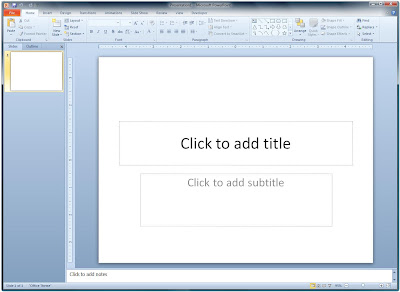
Ready to start
If a new blank presentation is not displayed, simply click the File menu option and select New from the left column.
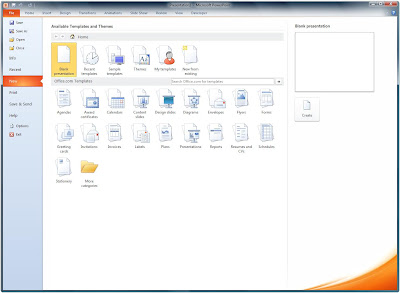
Double click the Blank presentation icon
Click on the Title placeholder and type "About Me". Click in the Subtitle placeholder and type your first and last name, your section number, and today's date. Click in the Notes pane and type a reminder to yourself welcome the audience and to make eye contact. You need to have Notes on at least two of your slides.
This presentation is rather bland since it is simply black letters on a white background. We will liven things up a bit by selecting a design theme. Click on the Design tab and then view all of the available themes by clicking the More button of the Themes group. Hover your mouse over the thumbnails to see a preview of each theme. Click on a theme to select it for your presentation.
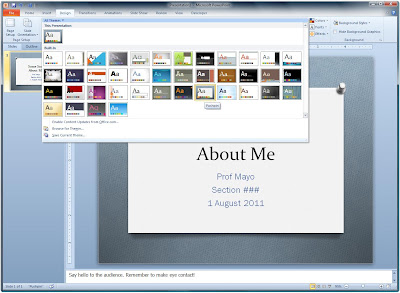
I chose the Pushpin theme.
The title slide looks much better now that you have a theme. Themes lend visual interest to your presentation. Another element that adds interest is an image. You need to have an illustration on each of your slides.
To place an illustration on the title slide, select the Insert tab and click on the Clip Art icon in the Images group. A new panel appears on the right. Type your search keyword.
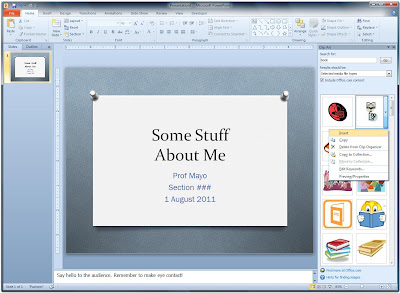
I searched on "book".
After you find an image you like, double click it and PowerPoint will drop it onto your slide.
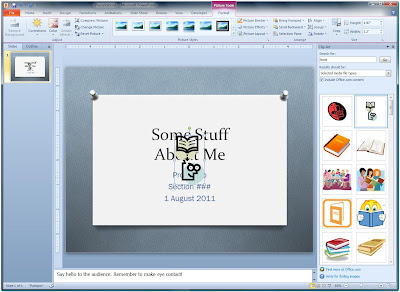
The default location is the center.
You will need to drag the image to the position where you want it since having the picture obscuring the text is not good. Click on the image, holding the mouse button down, drag the clip art to where you want it to be, and release the mouse button.
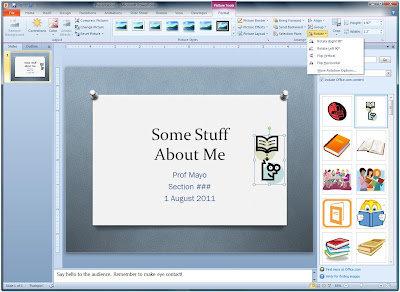
No more overlapping.
Suppose you like the picture you chose but you want to have it face a different direction. With the clip art selected, click on the Picture Tools Format tab. Click on the Rotate option in the Arrange group to show some of the things you can do.
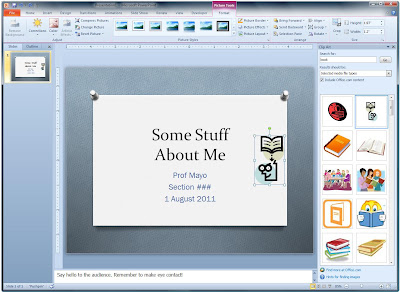
I chose Flip Horizontal.
You can also spin the image by clicking on the green rotation handle at the top. I decided to angle the image and to move it to the lower right corner.
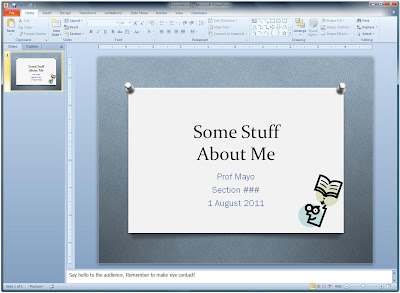
Now it looks at the text.
Remember, you need to have an illustration on each of your slides!
When you run your slide show, you can have a special effect upon loading each slide. These are called Transitions. You need to have at least one transition in your slide show. I recommend having just one transition but applying it to all of the slides in your presentation.
Click on the Transitions tab and then click the More button for the Transition to This Slide group. Just like when choosing a Design Template, you can hover over your options before deciding on one to keep.
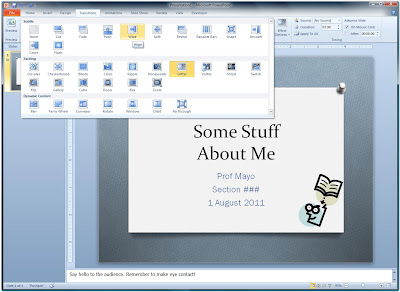
I am using the Wipe transition.
Some of the transitions have options. Since I am using Wipe, my Effect Options button becomes active and I can customize my slide transition.
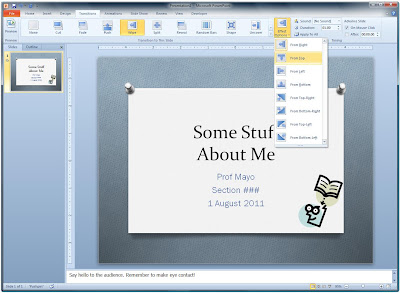
I chose From Top as my direction
and I also clicked the Apply to All button.
and I also clicked the Apply to All button.
That probably seems like an awful lot of work for just one slide but you've now set up the entire look and feel for your presentation and the rest of the slides will be quicker.
Click the New Slide drop down on the Home tab. Click on Title and Content to add your second slide.
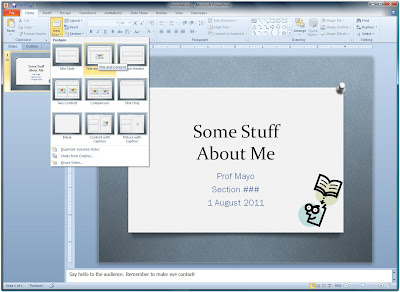
We'll use this slide type for the whole project.
Notice how this slide looks a lot like the title slide did and the design you chose is already applied.
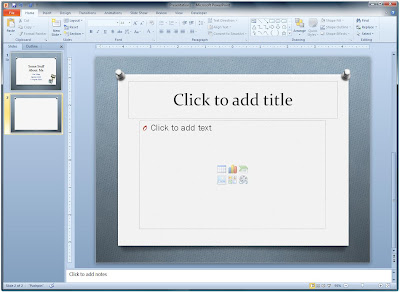
Ready to add your text.
Click the Title placeholder and type "Personal Info". Click the Content placeholder to begin working up a bullet list. A bullet list must have at least two elements. Bullets are not full sentences: use short, to the point words and phrases.
You need to have your full name and slide numbers in the Footer. Click the Header & Footer button on the Insert tab.
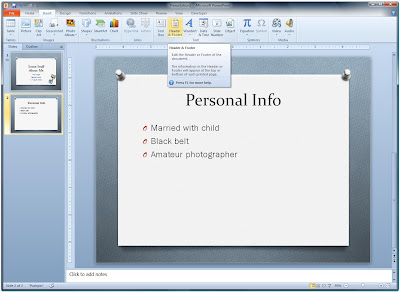
In the Header & Footer dialog box, check the following checkboxes: Slide Number, Footer, and Don't show on title slide. in the textbox next to the Footer checkbox, type your first and last name. All new slides you generate will have your footer, just as they will all have the design template applied.

Name and slide number - check.
You need to add an animation to at least one of your illustrations. Let's take a look at how to do this using an image on the second slide.
Click on an image to select it then click the Animations tab. Play around with the options in the Animations group until you find one you like.
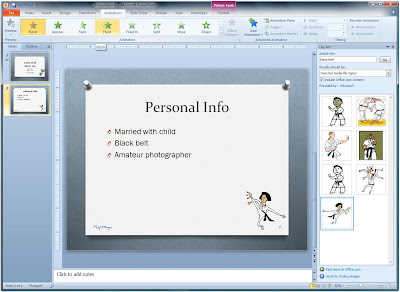
I chose the Fly In option.
Just like with the transitions, animations have effects. Click the Effect Options button to modify the animation you chose.
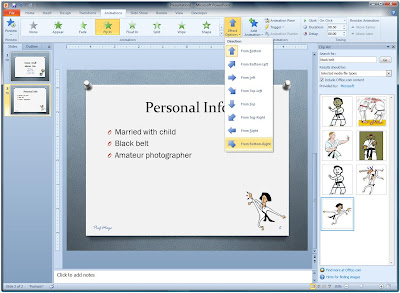
I chose the From Bottom-Right option for my Fly In.
You can also chose when an illustration appears by editing the defaults in the Timing group. Click the Start button in the Timing group to see your choices.
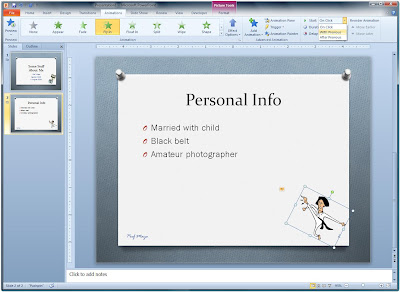
I chose to have my image appear With Previous.
The third slide is entitled "Education". List all of the colleges and/or trade schools you have attended in chronological order. If you have not attended at least one other college in addition to Brookdale, list your high school and Brookdale. You may add year, grade point average, or degree earned in your bullets.
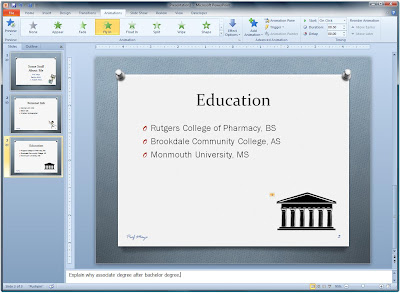
It looks out of order, but this is correct:
I earned an associate degree after a bachelor degree.
I earned an associate degree after a bachelor degree.
When you create a presentation, you should follow the 7-by-7 rule. This means that you should try to limit the text of your bullets to no more than seven lines on a slide and no more than seven words on a line. If you have a slide with ten bullets, you probably need to divide it into two slides. Review your bullet list. Are you really on topic? Or maybe you are trying to squeeze two ideas onto one slide.
Remember, though, that this is a rule: there are no PowerPoint police who are going to come issue you a ticket because you have one slide with one line that has eight words. If you really need eight words to make your point clear, use them. The rule exists to remind you to be brief and directly on topic on your slides.
Often when you are creating a presentation, you will have bullet lists that aren't complete without some further explanations. In those cases, sublists are the way to go. You need at least one sublist in your presentation. Let's work on a sublist on slide four, "Likes".
You work on your bullet list as you have been. When you realize that you need to make a sublist for the current bullet, click on the Increase List Level button in the Paragraph group of the Home tab.
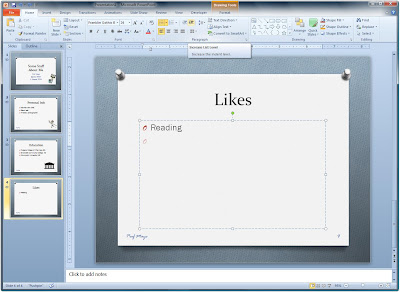
I need a sublist under Reading.
The current bullet will indent. Type up your list and then click the Decrease List Level button to return to the top level.
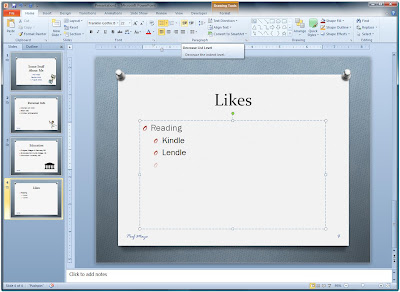
You can indent using the Tab key
and outdent by using Shift Tab, too.
and outdent by using Shift Tab, too.
You can link to a web site from your PowerPoint presentation. Select the text that you want to link. Click on the Hyperlink button on the Insert tab.
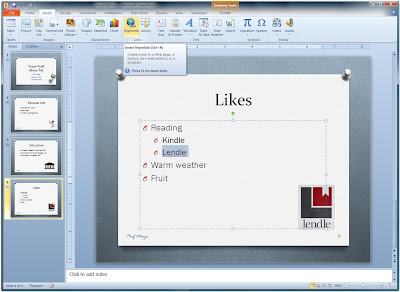
I linked the word Lendle.
Type in the URL of the web site in the dialog box and then click the OK button.
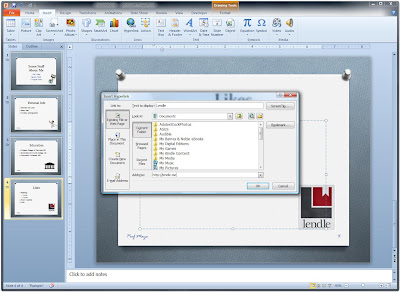
This makes a "friendly" hyperlink.
The text color will change according to the color scheme of the design theme you are using.
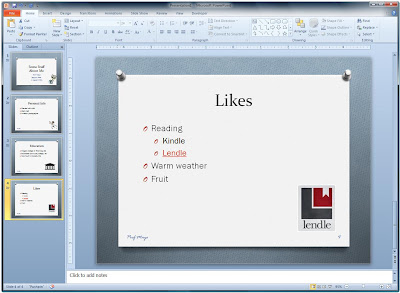
If you click the link during your presentation,
a new browser will open and navigate directly to the site.
a new browser will open and navigate directly to the site.
Since slide four was about things you like, slide five is about your "Dislikes".
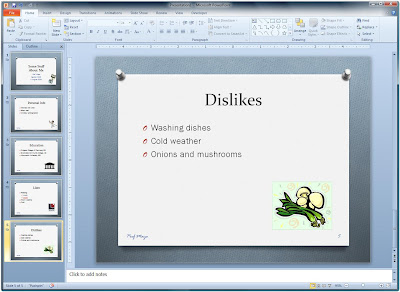
Cannot stand the smell of sauteéing onions!
Wrap up your presentation with your "Future Plans" on slide six. Most students list things they would like to do once they graduate college on this slide. This is also a good place to add a line in the Notes Pane reminding you to thank the audience and maybe ask for questions.
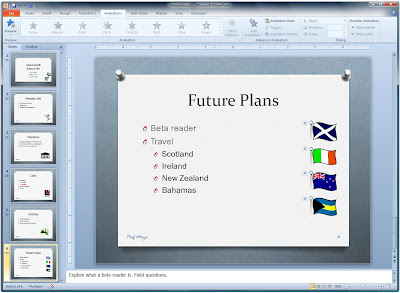
Al done!
Remember to place an illustration on each slide, to follow the 7-by-7 rule as closely as possible, and to spell check your document.
Due Date:
Tuesday, September 13th, 6:00pm